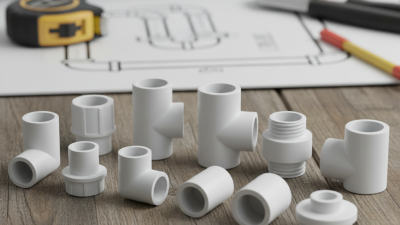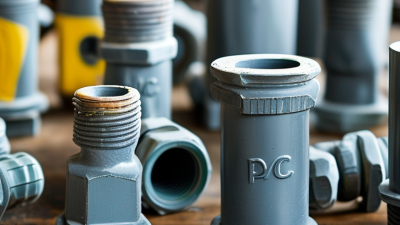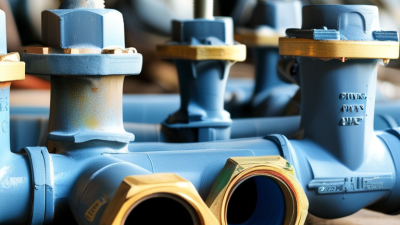
Choosing the right cepex fittings starts with the system, not the shelf. Identify the fluid, operating pressure, temperature range, pipe material, and connection type. A fitting may look right in your hand yet fail to match the line it must join. Small details matter: thread size, seal type, and whether the connection needs frequent removal.
Cepex product documentation is a sound reference for checking specifications, but verify each fitting against your actual installation. A useful rule is: “Confirm compatibility before choosing the connection.” I can’t verify a named Cepex expert’s quotation from the information provided, so I won’t attribute those words to a person. That deserves a second look. In this guide, we’ll compare key fitting types, explain what product details to check, and flag common selection mistakes. The best choice is not always the largest or most expensive one. It is the fitting that suits the fluid, dimensions, and working conditions—with enough information to verify the match.
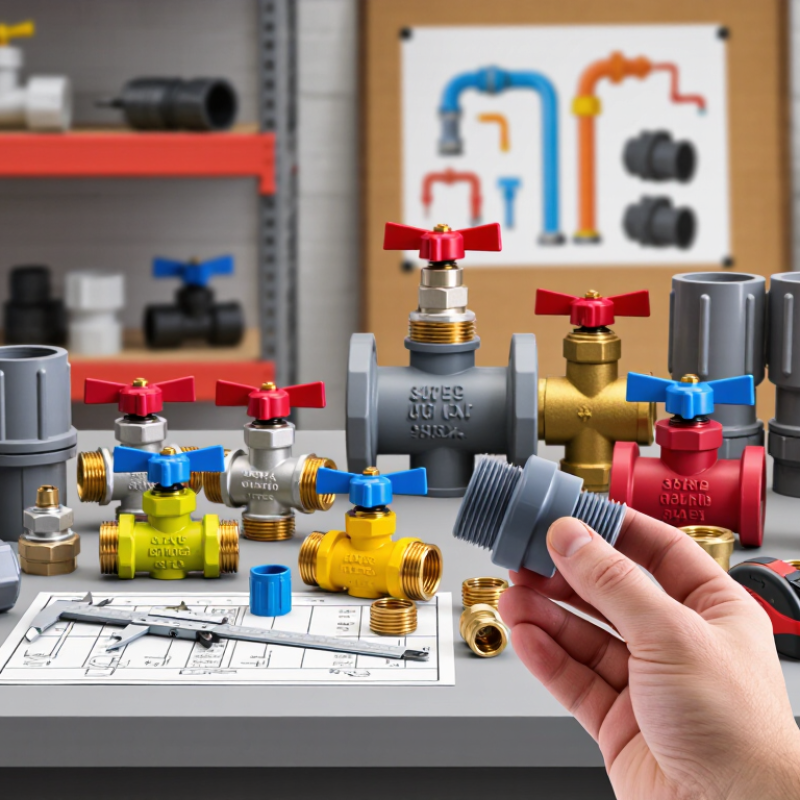
Before selecting a fitting, define what it will carry and where it will operate. Water, treated water, and chemical solutions can affect materials differently. Check the fluid’s composition and concentration against the fitting manufacturer’s compatibility data. Guessing is risky.
Then record the system’s working pressure and temperature, including likely peaks. A fitting’s pressure rating may decrease as temperature rises. Pumps can also create brief pressure surges that a steady gauge reading will not show. Note them. For a warm line near a pump, allow for both conditions rather than relying on the nominal rating alone.
Consider the physical installation, too. Measure pipe outside diameter, connection type, and available clearance before ordering. Check whether the line needs supports, and whether vibration or outdoor exposure could stress the joint. A fitting that fits on paper may be awkward to tighten against a wall. I would recheck that detail; it is easy to overlook. Use the installation instructions for the specified joining method, and avoid forcing misaligned pipes into place. A small mismatch can leave the joint under strain, even when it appears sealed.
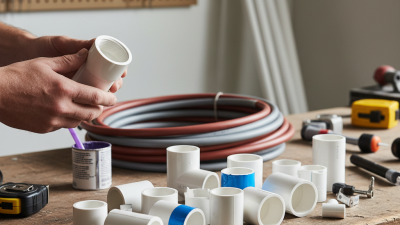
Compare approximate upper continuous-use temperatures for common thermoplastic fitting materials. These values are general guidance, not guaranteed limits; confirm the specific product’s pressure-temperature rating and chemical compatibility before selecting a fitting.
Choose fitting material by checking the actual fluid, not just its name. Record concentration, pH, temperature, pressure, and cleaning chemicals; each can change compatibility. PVC, CPVC, polypropylene, and fluoropolymers tolerate different chemical conditions, but none is universally resistant. Check a chemical-resistance chart, then verify it against the fitting maker’s technical data and the expected operating conditions. Pay close attention to seals: an incompatible gasket can fail before the fitting body does. Small details matter.
Environment matters too. NOAA Ocean Service guidance places average ocean salinity near 35 parts per thousand. In coastal installations, salt spray, sunlight, and temperature swings deserve attention, even when the fluid itself seems mild. Look for UV exposure, condensation, vibration, and contact with nearby metals. ASTM D543 describes methods for assessing plastics’ resistance to chemical reagents; such testing can inform selection, but it does not replace checking your specific fluid and exposure time. Test before installation. I would be cautious about relying on a generic compatibility table alone: mixtures, higher temperatures, or brief cleaning cycles can produce results the chart does not show.
Choosing suitable pipe fittings starts with three checks: pressure, temperature, and chemical compatibility. A fitting rated for 10 bar at room temperature may have a lower safe limit when hot. Check the pressure-temperature chart, not only the maximum pressure on the package. Include startup surges, pump shutoff, and water hammer in your estimate. A steady gauge reading can hide brief peaks. Leave a practical safety margin.
Tips: Record the fluid, its concentration, and the highest expected temperature. Check compatibility for the fitting body and every seal or gasket. If published data is unclear, request written confirmation. A similar-looking material is not proof of compatibility.
Chemical resistance can change with concentration, heat, and exposure time. A fitting may tolerate a diluted solution but degrade when the fluid is stronger or remains inside for hours. Check the technical data for the exact material and fluid conditions. Also confirm connection type and pipe dimensions before installation. Small mismatches can cause leaks, even when the material choice seems right. I would recheck the assumptions after commissioning; actual operating conditions are sometimes less tidy than the design notes.
Choosing a fitting begins with the pipe’s connection type. Common options include threaded ends, socket connections, and unions that can be taken apart for maintenance. Match the fitting to the pipe and the installation method. A threaded part may look close but still have a different thread standard. Small detail. Big leak risk.
Measure the pipe’s outside diameter with a caliper, and check the fitting’s specification sheet. Nominal size alone can be misleading because it does not always equal the measured diameter. For threaded connections, confirm thread type and pitch as well as diameter. Check wall thickness and pressure rating, too; they affect compatibility. Keep the pipe end clean and square before assembly.
A dry fit can reveal alignment problems before you commit. The pipe should enter a socket evenly, without force or excessive looseness. For threaded joints, start by hand to avoid cross-threading. I would not rely on appearance alone; that is an easy shortcut, and sometimes a costly one. Follow the fitting maker’s installation instructions, including any limits for temperature, pressure, and sealing materials. If measurements sit between sizes, pause and verify the pipe standard rather than forcing a match.
Before comparing dimensions, confirm the standard each fitting must meet. Check pressure ratings, temperature limits, and fluid compatibility against the project requirements. A fitting can match the pipe diameter and still be unsuitable for the application. Review material markings and technical data, and request documentation when specifications are unclear. Small checks matter.
Installation conditions deserve equal attention. Measure clearance around valves, walls, and nearby pipework, then confirm the joining method suits the available tools and installer skills. Leave enough room to align and tighten connections without stressing the pipe. For threaded assemblies, use the specified sealing method and avoid excessive force. It is easy to miss this on a clean drawing.
Plan maintenance access before closing a wall or covering a line. Keep unions, strainers, and inspection points reachable, with room for a wrench or replacement part. In a damp utility room, a few centimeters can determine whether a connection stays serviceable or becomes an obstruction. Record concealed routes and installed materials. Recheck the layout on site; drawings may not reveal every awkward corner.

Cepex is the brand for the fluid handling market belonging to the Fluidra group. One of the leading european manufacturer of valves and fittings in thermoplastic materials.
Dedicated to the swimming pool, irrigation and industrial markets, we distribute our products worldwide with the Fluidra commercial network and presence in 46 countries with 136 sales branches.